Dehydrating Your Home Grown Herbs
By Stephany Jess
A natural extension of an urban vegetable garden is growing herbs. Grown side-by-side with vegetables, herbs add a special flavor to the home-grown harvest. Picking a fresh bay leaf for a pot of vegetable soup, adding oregano to a jar of fresh tomato sauce, or a sprig of rosemary to the roasted chicken is satisfying to the urban farmer.
Urban farmers enjoy sharing the bounty they’ve produced, and herbs are no different. One way to share those delicious, flavor-enhancing plants is by dehydrating and bottling them, making joyful gifts for any occasion.
Harvesting Your Herbs
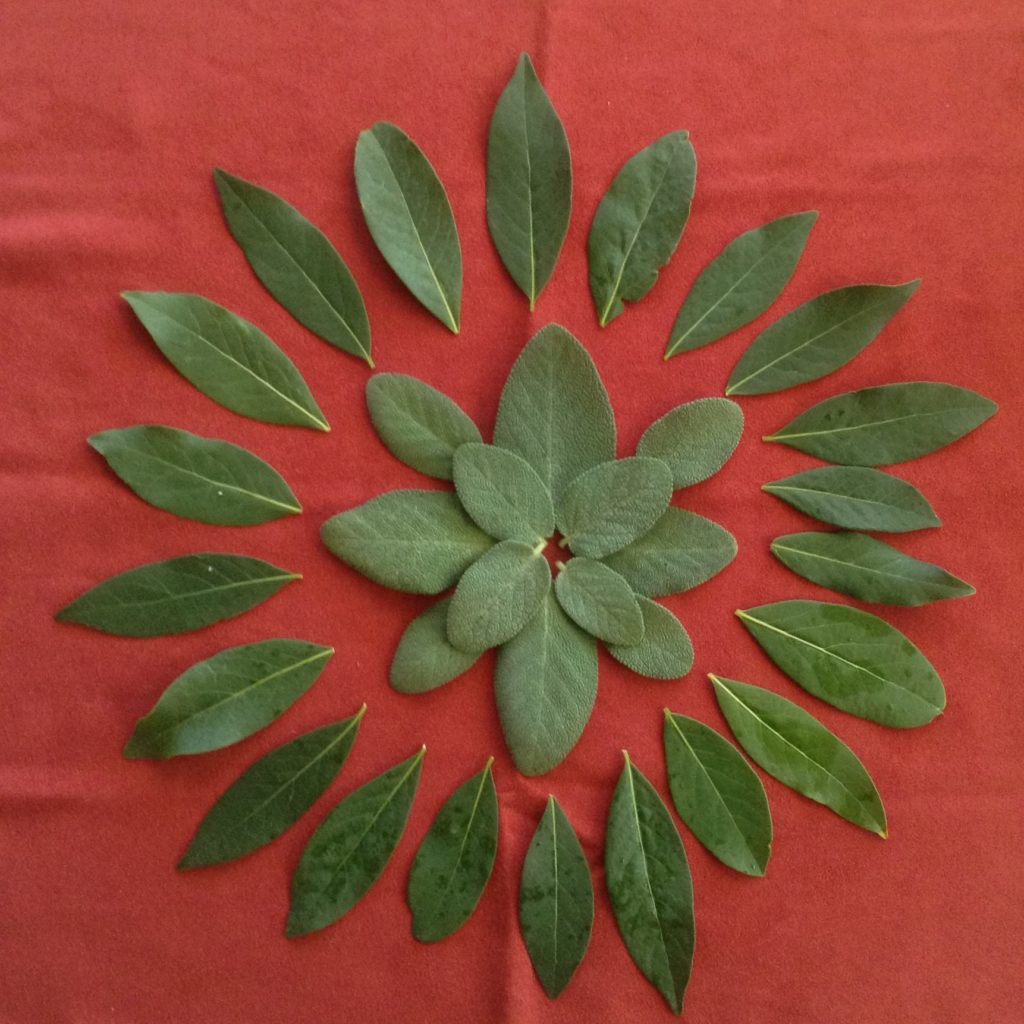
It’s best to pick herbs first thing in the morning when the volatile oils are at their peak. These oils add a fullness and depth of flavor to dishes prepared with herbs. Washing them off in a sink full of cool, clear water and an extra rinse under running water is usually sufficient. Herbs with larger leaves, such as bay and sage, are washed leaf by leaf. Smaller leaved varieties benefit from “swishing and squishing” to move the water through and around the leaves.
Keep the better to best specimens for the bottle. If you wouldn’t put it into your pot, you wouldn’t want it in your jar! Keep in mind, however, that smaller leaved varieties will take forever to sort individually. The smaller torn and slightly damaged leaves do well in the jars, since these herbs are crumbled after drying. Larger leaves, such as bay, look nicer when the best leaves are used.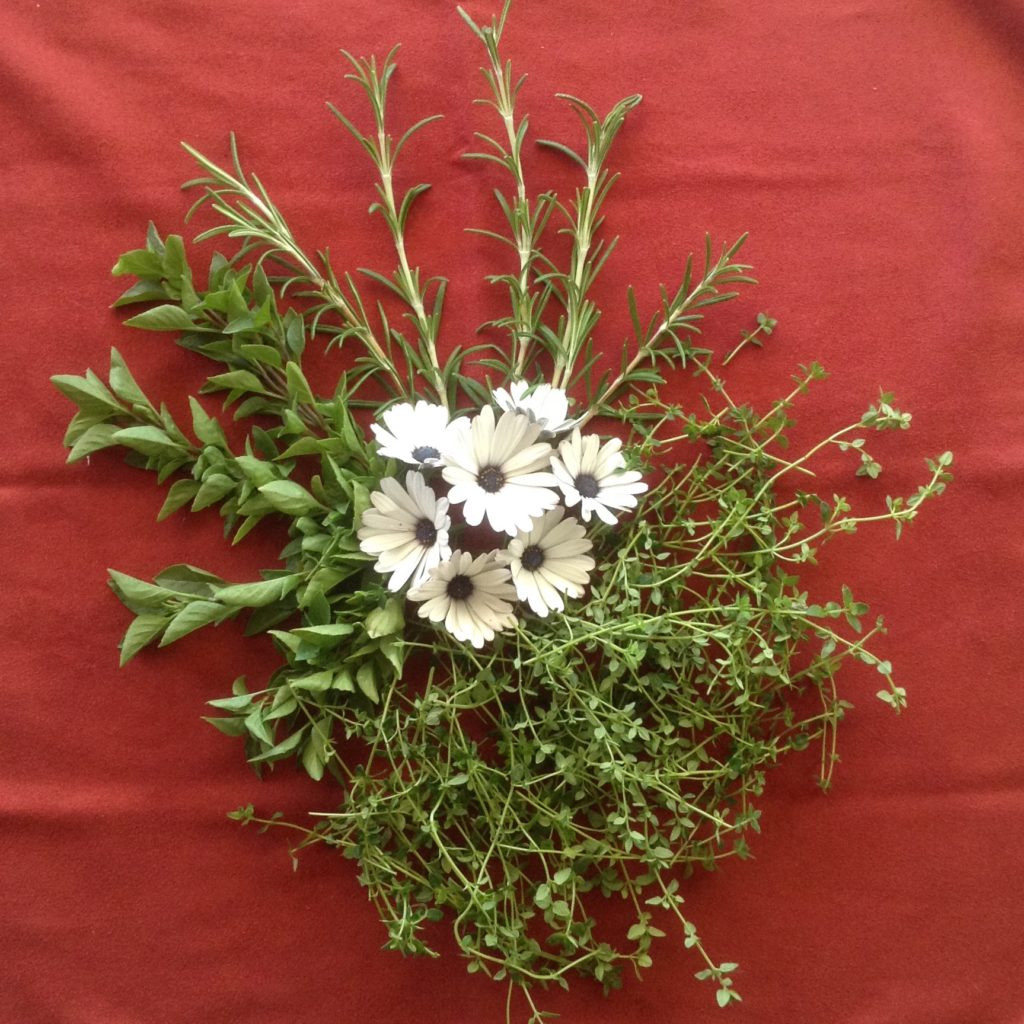
Drying Your Herbs
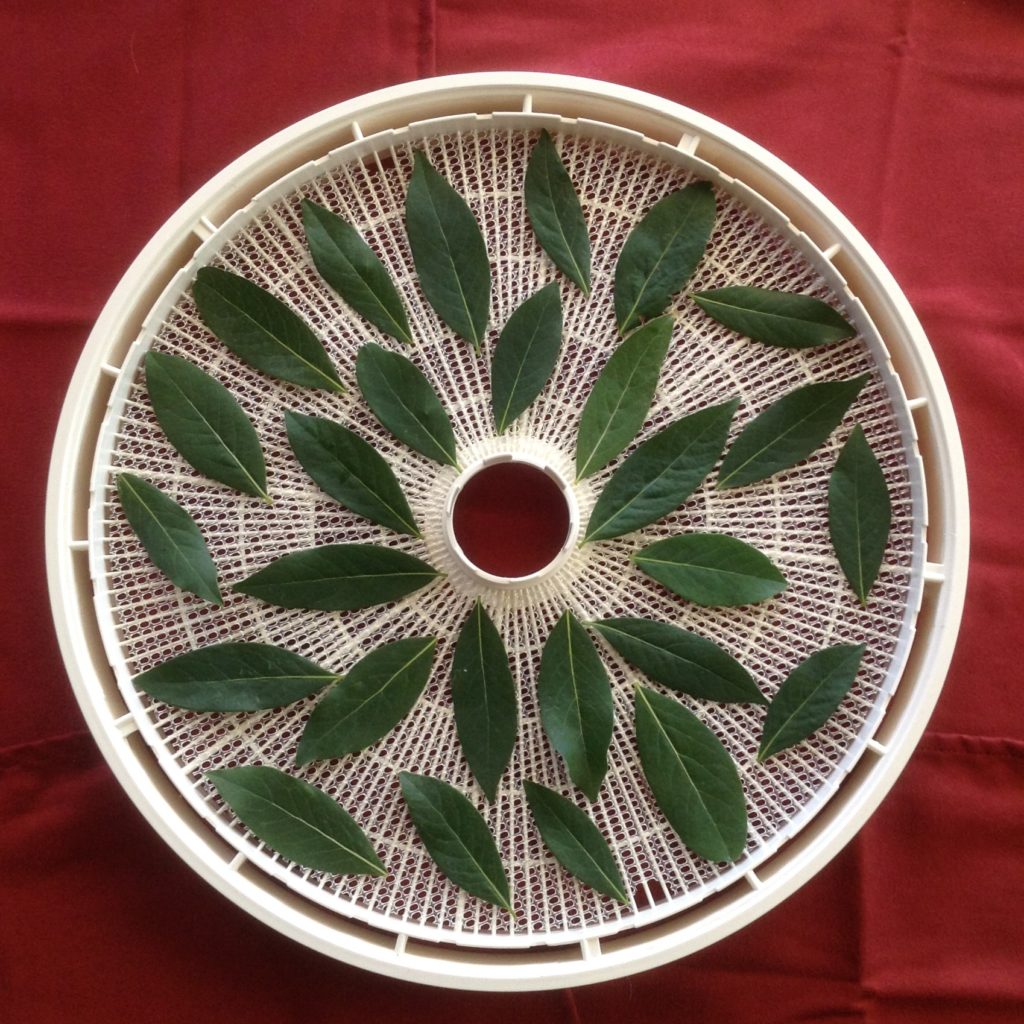
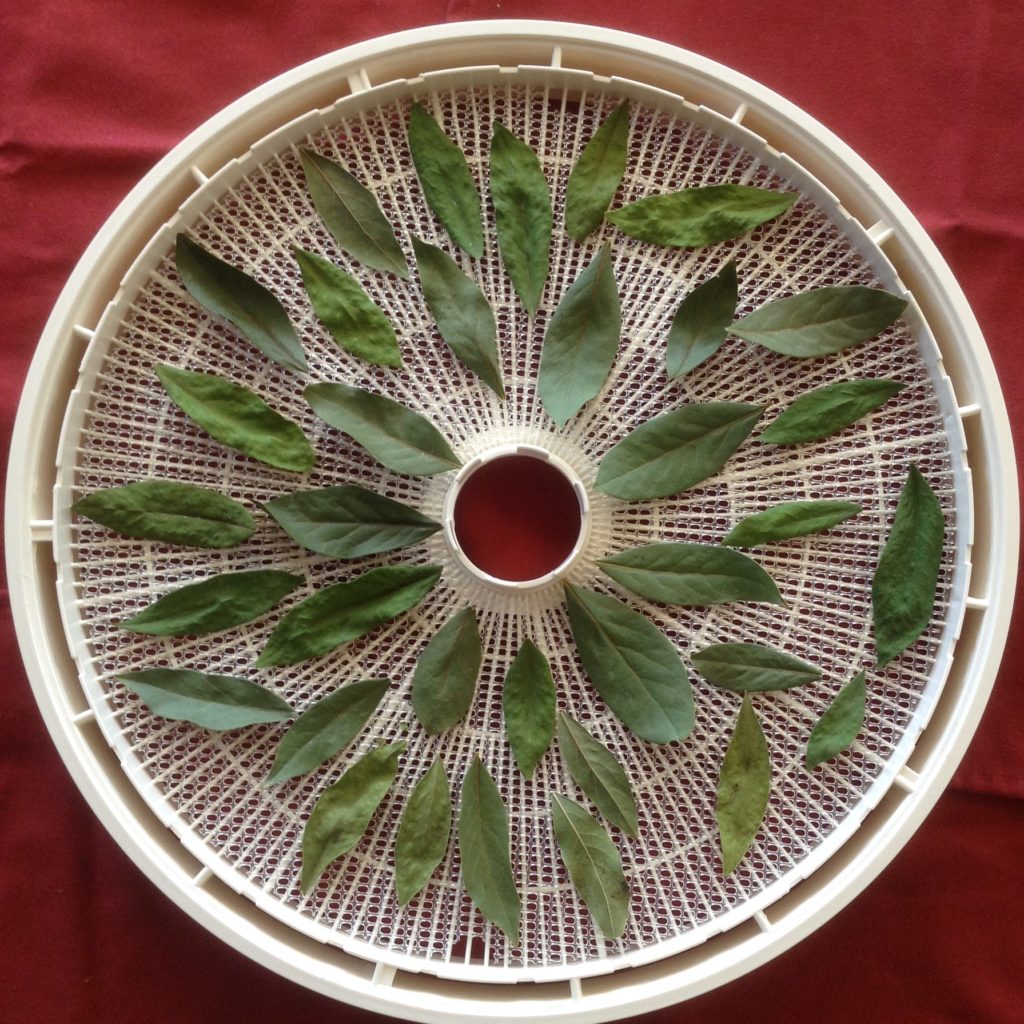
After washing and sorting, blot your herbs with towels or use a salad spinner. The more moisture removed from washing, the less time they will take to dry. Then, move your leaves to dehydrator trays. Large leafed herbs require more room between each leaf, about a quarter of an inch. Smaller herbs are placed on the trays as sprigs or stems, those are placed closer together, since they shrink a bit as they dry.
My dehydrator came with inserts that have a smaller grid size. These inserts work great for herbs. A solid insert, such as the kind used for fruit leathers can also be used. When loading the trays, placing leaves of a similar size together speeds up the drying process. As the smaller leaves are finished, remove that tray. Bay leaves, if dehydrated as a small tender leaf, will curl. I successfully dehydrated medium sized bay leaves by sandwiching the leaves between two perforated grid inserts. Set the temperature of the dehydrator to 120 degrees. This temperature preserves the color best. As always, consult the directions for your dehydrator.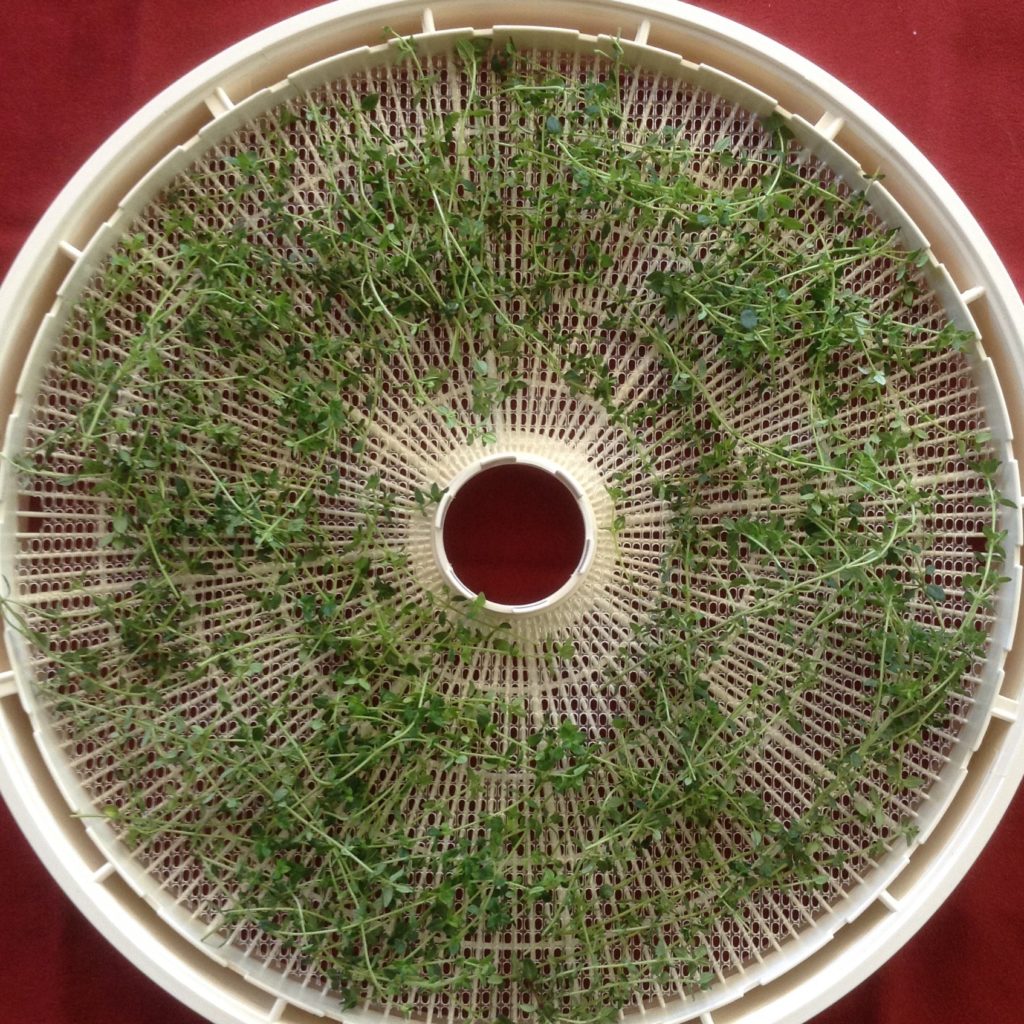
Consider the herbs dry by their “crunch factor.” Not dry enough and the herb may develop mold. Too dry and the herb will lose volatile oils, flavor and color. Smaller leaf herbs will crunch when pinched. When rolling a sprig between the fingers, much like rolling a pencil, a smaller leaf herb will come away easily from the small twig. Larger leaf herbs should be crisp. 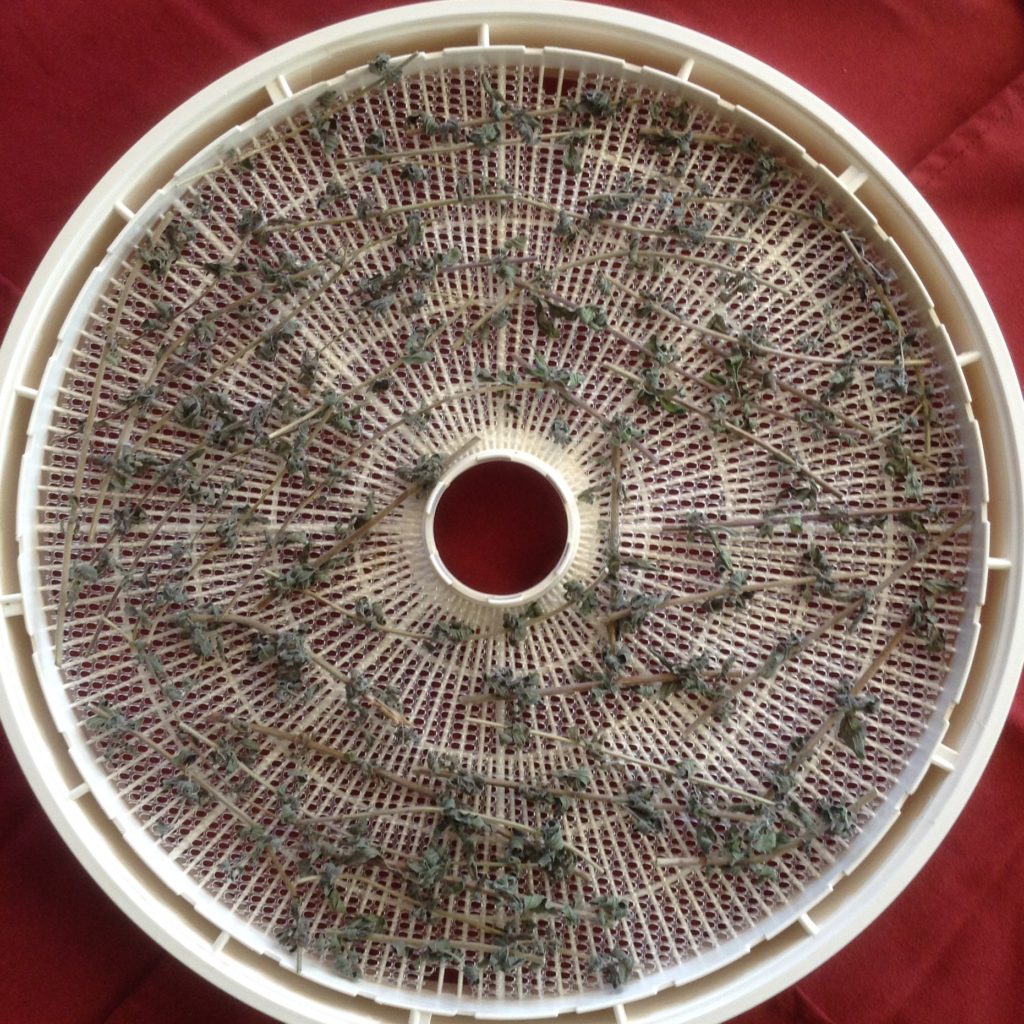
Bottling Your Dehydrated Herbs
Cost Plus World Market has inexpensive spice jars. The ones I use have a plastic lid, shaker top, straight shoulders, and hold about three ounces. The mouth is wide enough to fit a half-teaspoon sized measuring spoon. Spice jars can be found on-line as well. In addition to the jars, a piece of wax or parchment paper and a small plate are helpful.
After allowing the herbs to cool, crumble the smaller leaved herbs over the parchment or wax paper. The size of the crumble or crush is a personal choice. Rosemary and bay are bottled as whole leaves. Tweezers are helpful in picking out small stems and twigs. The amount and size of small stems is a personal patience level decision. Placing the spice jar on the paper plate will contain any spill that might occur. Using your fingers to pack the bottles and when a bit of herb is left, fold the parchment paper slightly and use it as a funnel.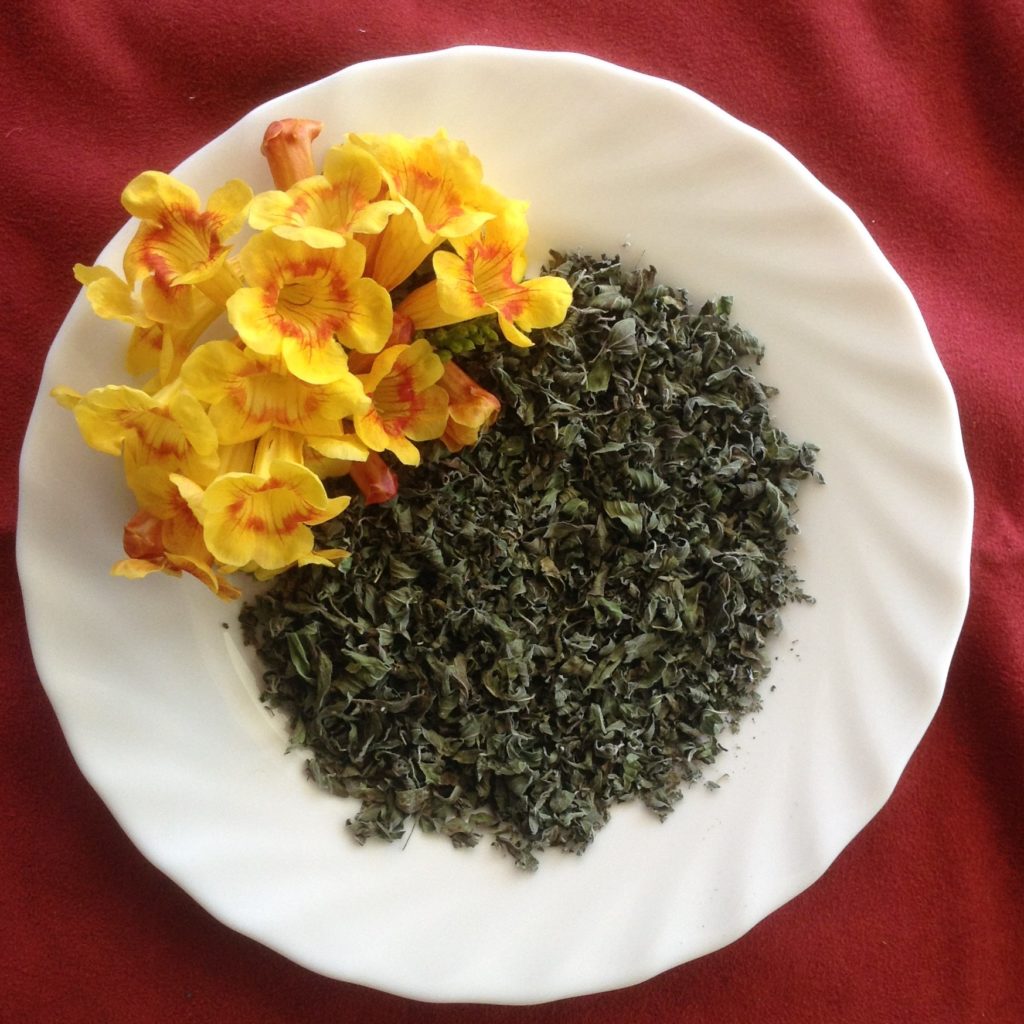
I purchase labels at my local office supply store. The Avery website has multiple pre-made designs that require you to add your own text. This makes a professional, clean looking label for the herbs you’ve grown. I’ve used poster tubes, found at office supply stores or the post office, to mail bottles of herbs to family and friends. A pretty basket or box is also a nice option. My family and friends have appreciated the recipes I’ve included using the herbs.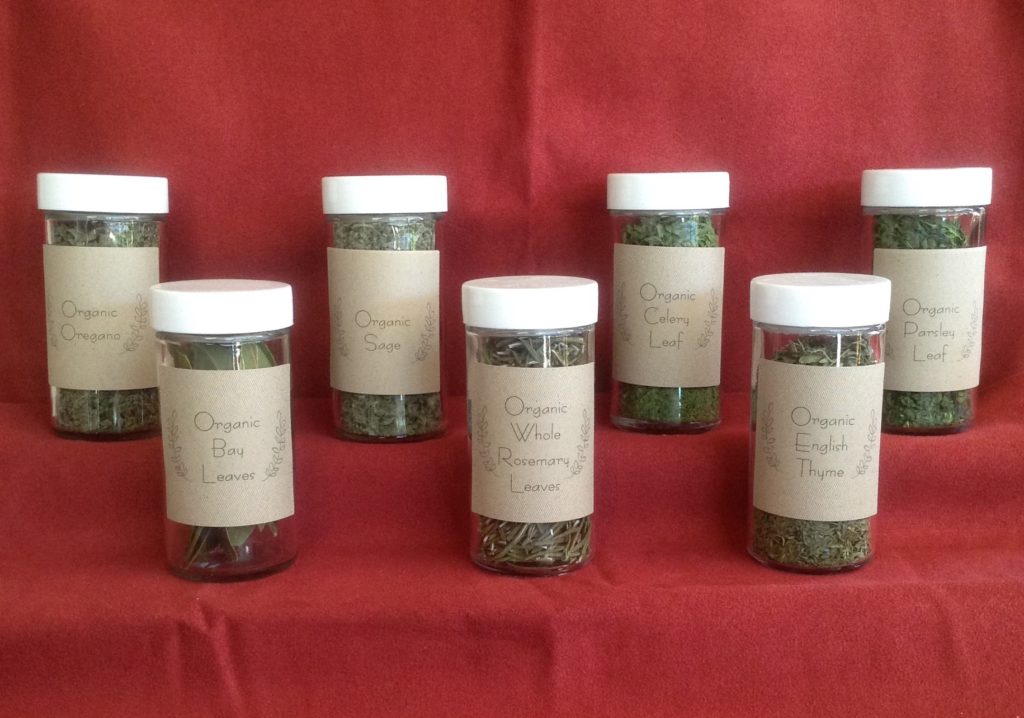
Your dehydrated herbs have a shelf life of about one year. Always store your herbs in a cool, dark cabinet to preserve their flavors and color.
Dehydrating your own herbs is an easy process. As the wife of an urban farmer, I gain a wonderful sense of accomplishment seeing those beautifully labeled jars! Happy Dehydrating!
Stephany Jess supports the labor of her Urban Farmer, Raymond Jess, by canning, dehydrating, and preserving the bounty from his gardens. She has been canning and preserving foods for 30 years, a skill she learned from her mother and grandmother.


