Cut the Cost of
Raising Your Flock:
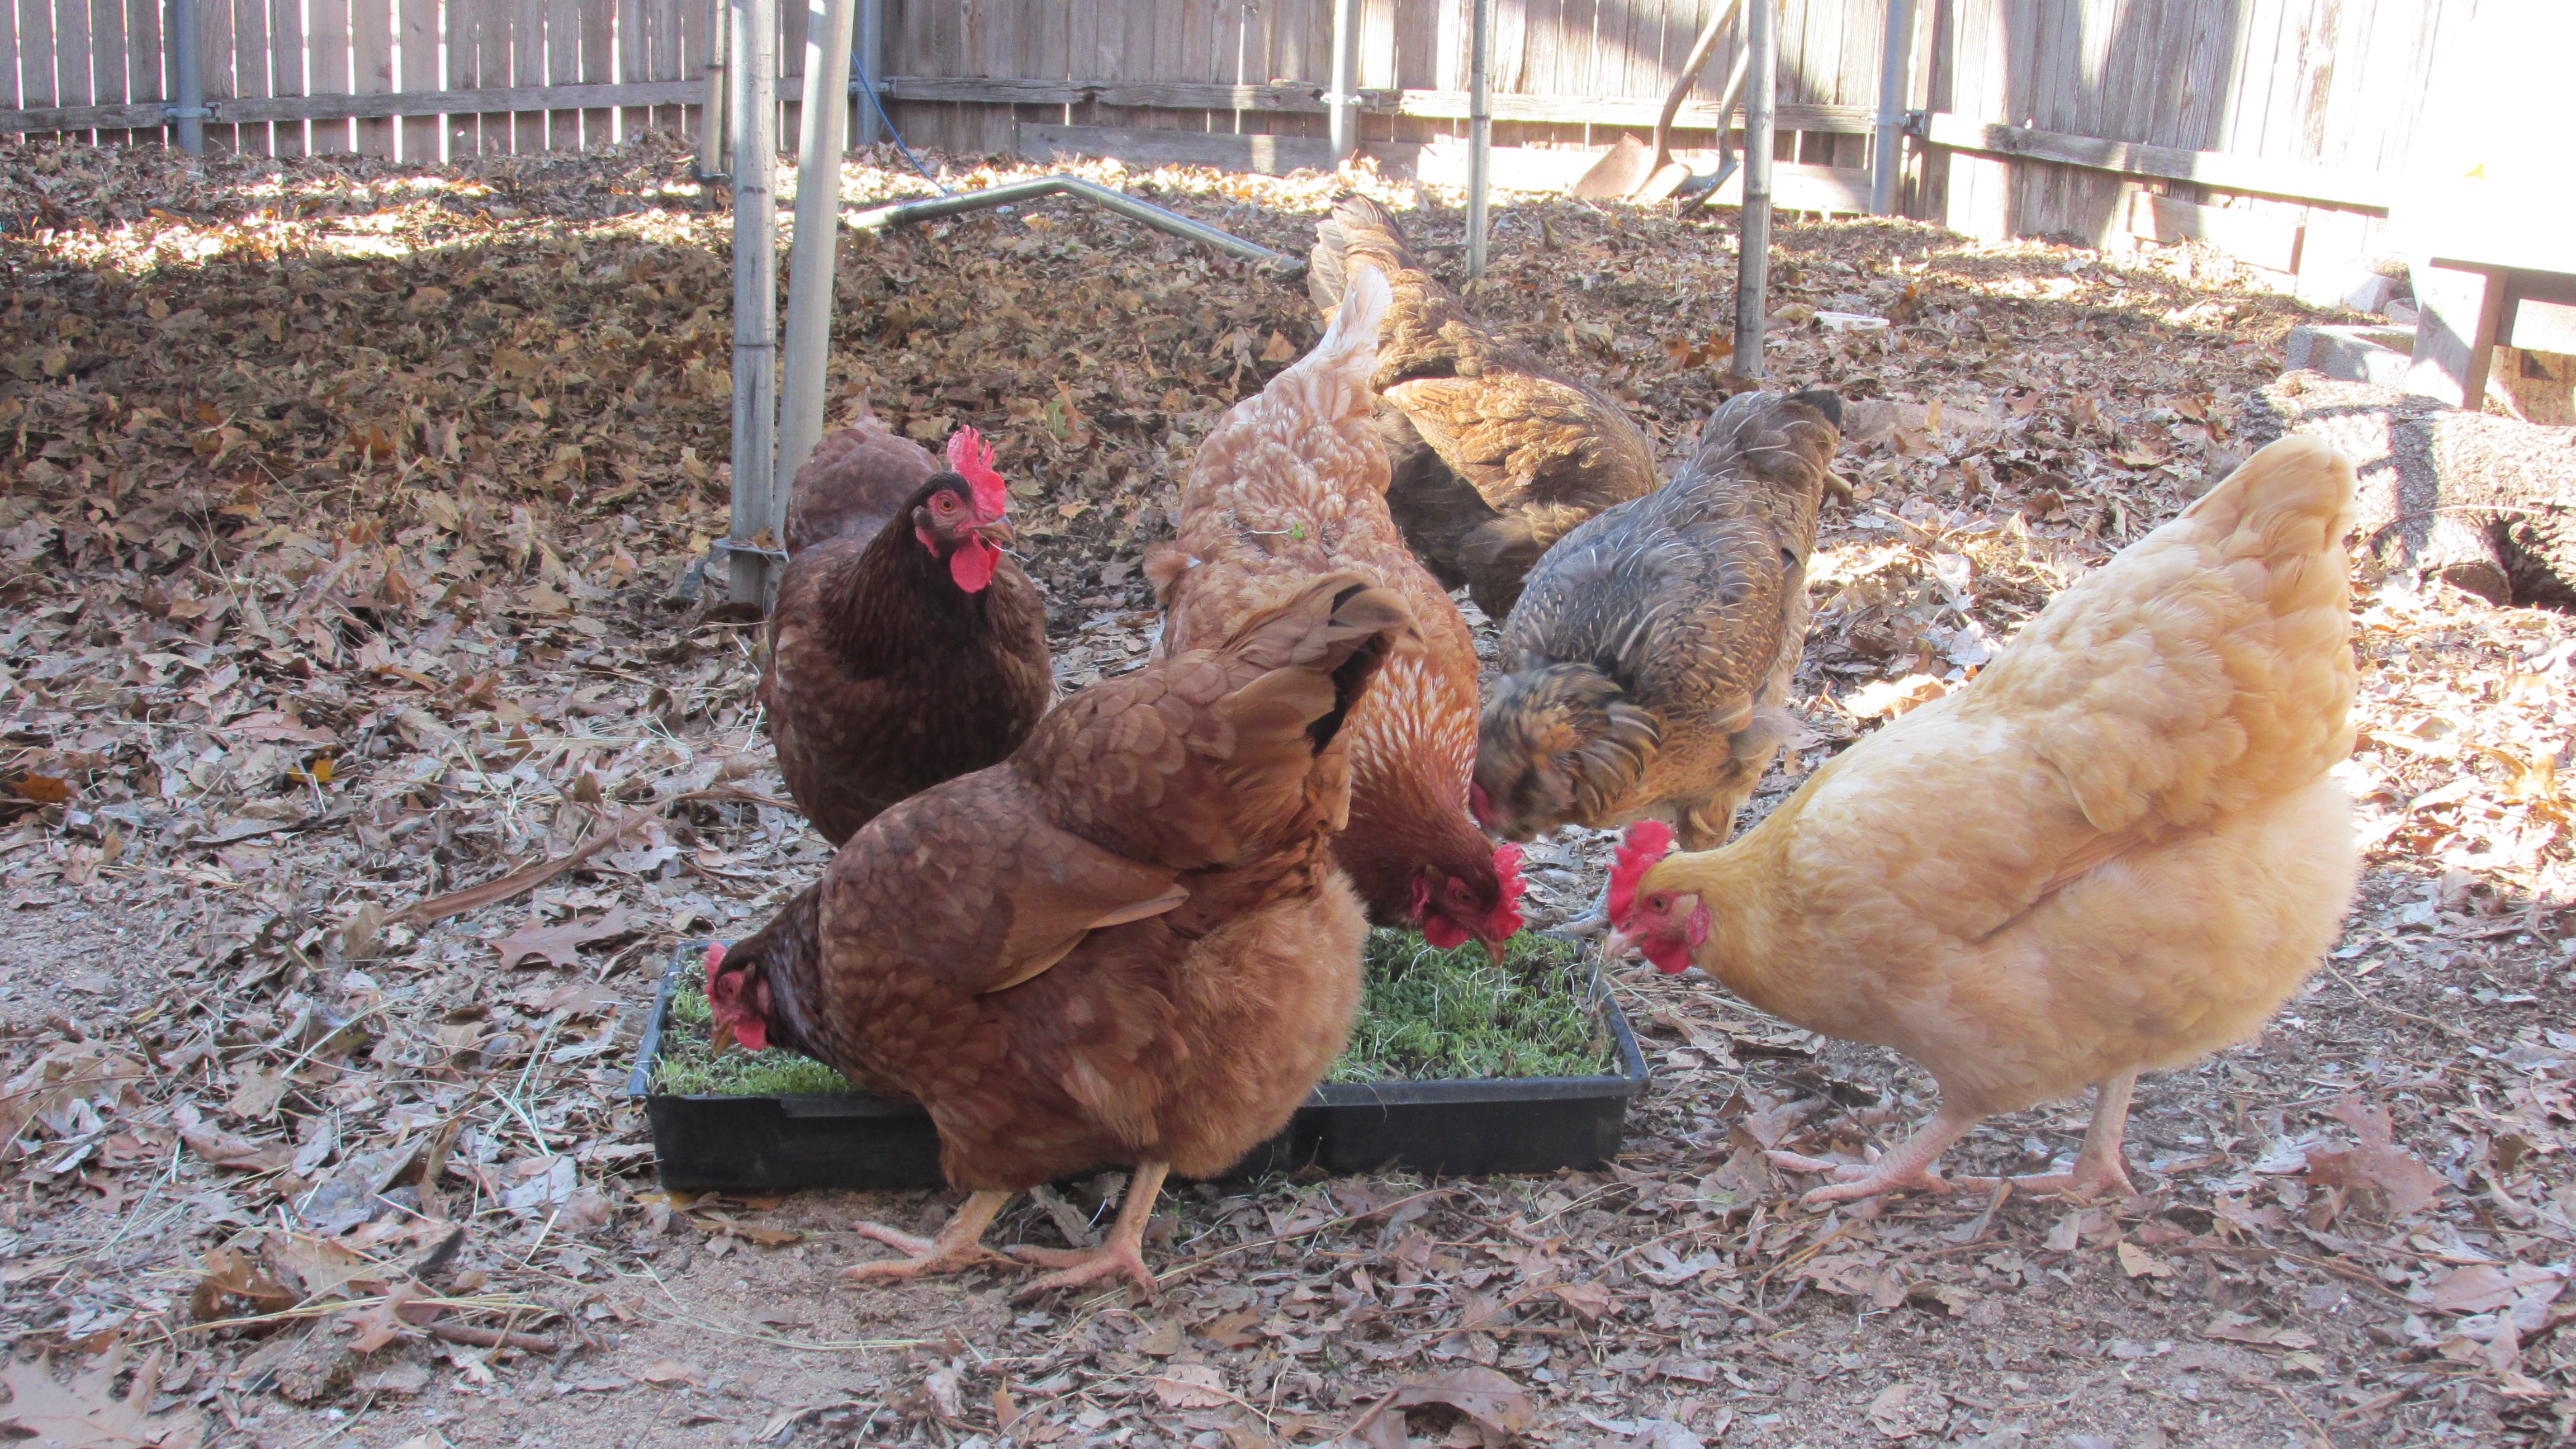
Grow Greens for Your Girls
By Anne-Marie Miller
This is the last article of the series on cutting the cost of raising your flock. I must report that I have found this aspect of growing food for my flock to be the most challenging, which was a huge surprise to me. I really thought this would be a no brainer!
Perhaps for someone with more property, electric poultry netting would do the trick to portion off a bit of beautiful green pasture. However, for a space-challenged urban farmer, pasture raising poultry can be a bit of a challenge. Whenever I have a challenge, it pushes me to think outside of the box to find a solution to my problem.
A bit about fodder systems—I naturally thought a well-built indoor fodder system would do the trick. Let me just say here that the only thing I seem to be able to produce with such a system is gnats (a lot of them!) and mold (quite a bit of that, too)! I don’t know what I am doing wrong! It could just be my warm, humid climate or my not-so-spotless house. No idea here? If you have a fodder system that is working for you, please send us pictures, details. HELP! In the meantime, I have been forced to come up with a few out-of-the-box solutions of my own for providing my girls with healthy greens.
 Outside the box solution# 1:
Everybody has weeds. People spend gobs of time pulling them. Let people know with a flyer or an online neighborhood site like I did, that you want weeds.
Important note here: if you post an ad in your neighborhood site stating that you are willing to come pick up fresh weeds, don’t forget the “s” on the word weeds. That single letter is VERY important! After that neighborhood ad, I might not just be known as the Crazy Garden Chicken Lady, but as the High-as-a-Kite Crazy Garden Chicken Lady! I know! How do I manage to do these things? Let’s blame it on Spring fever, shall we?
Anyhoo, you would be surprised how many neighbors will bring you fresh weeds! Your egg-laying divas will love them! I did have to set a few hopeful individuals straight, who thought I was going to come pull their weeds. Definitely should have read over that ad a couple of times before I sent it out. I was in a hurry to finish so I could get back outside!
Along the same lines, people who bag their grass clippings are happy to have you pick them up to feed to your girls. You do need to let people know you are only interested in clippings from non-chemically treated lawns, but this is surprisingly easy to find. If you have your compost area in with your chickens then you can just dump these fresh greens in for your girls to sift through and eat what they want. The rest just becomes soil building goodness.
Out of the box solution #2:
Find a neighbor that has a lawn maintenance problem. Yes, you read that right. You know that person on your block that just can’t seem to get their yard under control. This sad looking situation could be a win-win for both of you and the city you live in.
Let me just say that I really like my neighbor because he doesn’t get into my business and I don’t get into his. I couldn’t give a rat’s ass what he does with his yard as long as he isn’t complaining about what I do with mine. My whole front yard is a veggie garden after all. One day I was visibly drooling over the amount of over grown vegetation in his yard. My eyes were full of longing as I thought of all the money I could save on pasture raising my animals there. He misinterpreted my facial expression of longing and started telling me he would get everything trimmed up that very weekend.
I saw my opportunity and I went for it. Now, I am the proud overseer of a large yard of overgrown grass and weeds, which my girls will take down in no time. In turn, he no longer needs to worry about the city complaining about his overgrown lawn. Win-win for everyone. Gosh, I wish I had those goats I have been wanting! Everyone send me good wishes that my hubby will agree to goats!
I woke up the next morning all excited about my new grazing opportunity. I wish I could include a video here of my kids and I trying to catch my chickens and convince them to go into the neighbor’s yard. It would make you belly laugh for sure. Finally, we put a dish of meal worms in a cage. The girls eagerly ran in the gobble up their treat. We placed the cage on a wagon and off we went to transport them to the green on the other side of the fence. At the end of the night we repeated the process to get them back into the coop and there we have it—pasture-raised chickens! There must be an easier way and I am sure we will find it. I will keep you posted.
My son and I are working on building a chicken tractor, which could be the solution to all this back and forth. Note to self: If you build a chicken tractor make sure it fits through the gate or is light enough to lift over the fence. After my engineering-minded son got involved, things started to go much more smoothly.
I know this solution is not for everyone, but I wanted to knock you outside the homesteading box. It might be time for a little off-roading, unconventional, get to know your neighbor time. Who knows, you might end up being a blessing to a single mom who is really struggling to keep control of her landscape. I know, as a kid I grew up in that situation. I would have loved a crazy chicken lady coming over all the time to help out with the craziness that was my life or at least convince me that I wasn’t alone!
Out of the box solution #3:
Grow a bed just for feeding your hungry egg suppliers.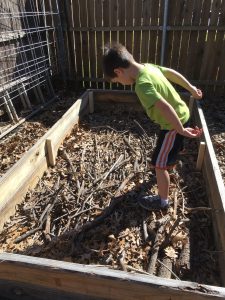
I used some donated wood to knock together a 4’ x 8’ raised bed. Here is the exciting part: I used this to try a new concept I have been wanting to experiment with, called hügelkultur. Every time my teenage boys hear this they laugh. I don’t know what they find so hilarious about this word or concept, but then oftentimes I don’t get their humor either. Hügelkultur can be defined as making raised garden beds filled with rotten wood. This makes for raised garden beds loaded with organic material, nutrients, air pockets for the roots of what you plant, etc. As the years pass, the deep soil of your raised garden bed becomes incredibly rich and loaded with soil life. Now I ask you, what is so funny about that?
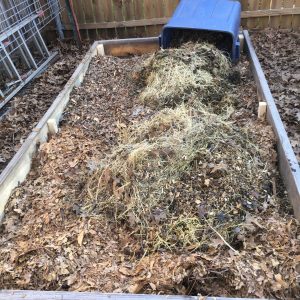
After I put together my bed I filled it with an old wood pile that another neighbor was anxious to get rid of. It takes a village, people! I then dumped a few bags of shredded leaves (from another neighbor). I topped it off with waste collected from under my rabbit hutches and a layer of compost. After that I was ready to plant.
A cool season choice for your new garden bed would be to liberally spread seed of annual ryegrass, crimson clover, fava beans, hairy vetch, winter peas, kale, winter rye or winter wheat. Cover your bed with a low hoop house of PVC pipes and frost cloth and you have a sheltered place to grow all winter.
Some warm season choices would be buckwheat, cowpeas and millet. Sunflowers are also a fun summer choice to grow for harvesting the seed heads for your chickens. I have always wanted to grow one of those sunflower circles for the kids to play in. Maybe this will be the year.
It goes without saying that you will have to protect your growing beds until they are full and ready for your egg laying divas to chow down on. I made a lightweight wooden frame covered in chicken wire to protect my growing chicken food, but a wire fence would work as well.
Although I have been growing fodder in soil-filled flats for some time, the raised bed method will be a lot less work for me. Whenever I can cut down my time spent on farm chores it leaves time for important things like reading stories to little boys while they still fit in your lap. I hope some of these ideas will help you cut the cost of raising your flock and give you more time for the important things in your life. Get ready, get set! Here comes spring!
Hungry for more? Read the rest of the series:
1. How to Cut the Cost of Raising Your Flock
2. Raising Nutritious Insects
3. Fermenting Feed
4. Growing Greens (currently reading)
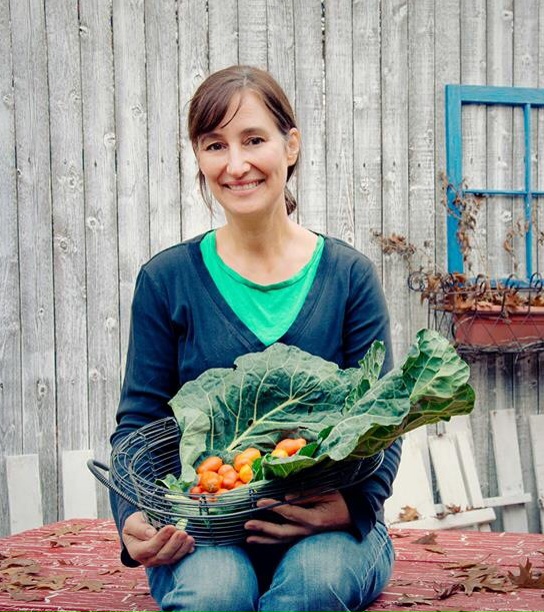 Anne-Marie or Dash (for the hyphen in her name) is an urban farmer in Dallas, Texas. She raises chickens and rabbits on less than ¼ of an acre. Plus, she has turned her front yard into a large stand-out-in-the neighborhood vegetable garden. In addition to the farming she does on her homestead, she helped create a community garden literally from grassy field to thriving garden. What stands out about her little urban homestead is her determined out of the box approach to overcoming obstacles. You can follow her adventures on her little urban homestead by visiting her blog, BloomWhereYourPlanted.com.
I think I do have the “key” to non-moldy, gnat-ridden issues of inside fodder system growing. . .because I experienced the grossness of it, too. And I was sooooo depressed because my husband created a beautiful wood fodder-tray holder with brushed nickel legs to match the kitchen cabinetry. I wanted it to be amazing. And the key for amazing was oxygen and deep rinsing during the first 3 days of seed soaking.
Everything was going great for the first couple of months, and then I stopped doing a simple, almost instinctive component. I live in Arkansas. . .we don’t use air conditioner. . .you can’t get more humid and hot. . .so I am qualified to address this topic. . . and I’ve used fodder for two years.
Day 1-3 is soaking on my kitchen counter in large yogurt containers nested in another large yogurt container. Six yogurt containers (three have holes for drainage in the bottom/three do not). Day 1, Day 2, Day 3. . .Morning. . .Day 3 will be transferred into the 5-tray fodder system when a mature tray is emptied to the hens. Day 1 & 2 are morning rinsed and Day 3 is refilled half way to the top with fresh seed and covered with water that is not rinsed off until evening. Evening. . .Day 1-3 are drained and rinsed thoroughly and the fodder trays are watered. The key is in the rinsing. The yogurt containers must be held under the water until the seeds almost float out, then the water must be lightly shaken out to as dry as possible. During this shaking, the seeds should be bounced enough (not to fall out) to get oxygen/space/air between them. They tend to want to cling to each other, and this is how the mold begins. And when the most mature (Day 3) soak-cup is transferred to the fodder trays, clean it out thoroughly before adding fresh seed. I also cover the yogurt cups with their original lids (I think this keeps the gnats from laying eggs in the seeds). I do not eliminate 100% of the gnats in this way, but most. So when I rinse the fodder trays, I look for the gnats to rise from the water and kill them manually. The key there is to keep the mature ones from laying. It is much easier to rinse the five fodder trays in the winter because there are no gnats and I can simply run the water over the top tray and allow it to fall to the catch tray. But in the summer, I may have to pull each tray once a day and rinse with intention to kill gnats. I hope this restores your inside efforts as it did mine. . . oxygen and two rinses per day. Happy Fodder!
Thank you Merrick for the detailed description! Arkansas is even more humid than here in Dallas Texas. If you can do it anyone can! When you said, “We don’t use air conditioner” my respect for you went through the roof! I can’t tell if you are amazing or crazy or maybe both. I think we would get along great! I tell my teenagers, “I never claimed to be sane, but hang on and pay attention. You might just learn something in spite of yourself. Seriously I will print this out and give it a go. Thank you, thank you! Dash
See how my 3 hens cultivate and how I plant greens and grain after them https://www.youtube.com/watch?v=G3B3lSz8UAY
Wow, Hans you Rock! This is so inspirational! I finished my chicken tractor, but alas it has a few problems. Mainly IT DOES NOT MOVE EASILY! I will keep working at it. I love the way the roof lifted up on yours and I noticed it was on wheels ! I am going to show my engineering minded son, who dislikes all farming endeavors, but LOVES to build stuff. Thank you for sharing your video! Dash